Viver em um ambiente urbano muitas vezes significa espaço limitado para jardinagem, mas isso não significa que você não possa desfrutar de uma vegetação fresca. A jardinagem vertical é a solução perfeita para quem deseja cultivar plantas sem precisar de um grande quintal. Com as técnicas, materiais e seleção de plantas adequados, você pode transformar paredes, varandas ou até áreas internas em espaços verdes e exuberantes.
Neste artigo, vamos guiá-lo pelo processo de começar um jardim vertical em espaços pequenos, desde a escolha do local até a seleção das plantas adequadas e dicas de manutenção.
Por que Escolher a Jardinagem Vertical para Espaços Pequenos?
Os jardins verticais maximizam o espaço não utilizado nas paredes, permitindo que os moradores urbanos aproveitem os benefícios da jardinagem sem sacrificar o espaço no chão. Aqui estão alguns motivos chave para optar por um jardim vertical:
- Utiliza eficientemente o espaço limitado
- Melhora a estética interna e externa
- Melhora a qualidade do ar e o bem-estar
- Fornece ervas frescas, vegetais ou plantas decorativas
- Reduz o calor urbano e aumenta o isolamento
Agora, vamos passar por cada etapa para configurar o seu próprio jardim vertical.
Passo 1: Escolhendo o Local Certo
O primeiro passo é identificar um local adequado para o seu jardim vertical. Considere os seguintes fatores:
1. Disponibilidade de Luz
As plantas precisam de luz adequada para prosperar. Observe quanto de luz o seu espaço recebe:
- Sol Pleno (mais de 6 horas de luz direta por dia) – Ideal para vegetais, ervas e plantas com flores.
- Sombra Parcial (3-6 horas diárias de luz) – Adequado para samambaias, heras e folhosas.
- Pouca Luz (menos de 3 horas diárias) – Funciona bem para musgos, pothos e lírios-da-paz.
2. Limitações de Espaço
Mesmo uma pequena varanda, parede de cozinha ou beiral de janela pode ser transformada em um jardim vertical. Escolha um espaço onde a estrutura não obstrua a circulação ou interfira nas atividades diárias.
3. Acessibilidade para Manutenção
Certifique-se de que suas plantas serão fáceis de regar, podar e colher, caso esteja cultivando comestíveis.
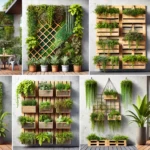
Passo 2: Selecionando uma Estrutura para Jardinagem Vertical
Dependendo do espaço disponível e do orçamento, existem várias estruturas DIY e compradas para jardins verticais:
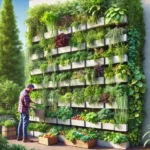
1. Vasos Montados na Parede
- Prenda vasos de bolso, potes suspensos ou painéis de madeira na parede.
- Ideal para pequenos espaços internos ou varandas.
2. Treliças e Suportes para Plantas Escalantes
- Ótimos para plantas trepadeiras como cipós, feijões e heras.
- Podem ser fixadas em paredes ou cercas para economizar espaço.
3. Vasos Empilháveis ou de Camadas
- Contêineres em várias camadas permitem que as plantas cresçam para cima.
- Ideal para ervas, flores e suculentas.
4. Cestos Suspensos e Prateleiras
- Suspenda os vasos no teto ou na moldura da janela.
- Funciona bem para plantas rasteiras como pothos e plantas-aranha.
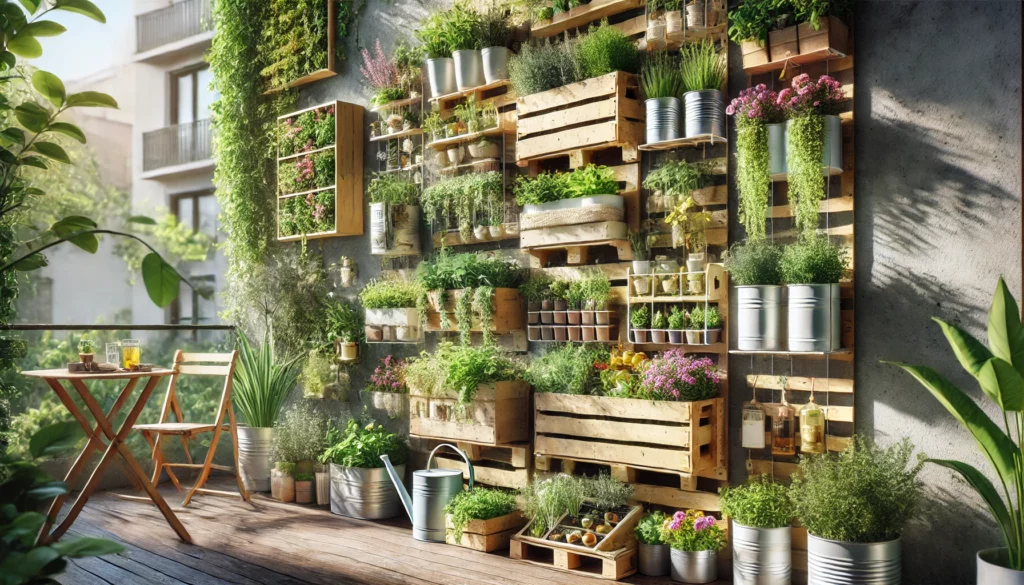
5. Materiais Reciclados e Upcycled
Para uma abordagem sustentável, considere usar:
- Paletes de madeira – Podem ser convertidos em bolsos para plantas.
- Garrafas plásticas – Corte e monte para formar uma estrutura vertical.
- Escadas antigas – Converta-as em um suporte de plantas em camadas.
Passo 3: Escolhendo as Plantas Certas
Selecionar plantas que se adequem ao seu ambiente e nível de cuidado é essencial. Aqui estão algumas ótimas opções para jardins verticais pequenos:
Plantas Comestíveis (Ervas e Vegetais)
- Manjericão, hortelã, tomilho e salsinha (ótimos para cozinhar)
- Tomates-cereja, alface e espinafre (compactos e fáceis de cultivar)
- Morangos e pimentões (prosperam em pequenos vasos)
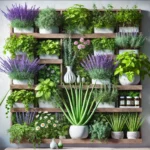
Plantas Ornamentais (Apetência Estética)
- Samambaia, pothos e filodendro (perfeitos para pouca luz)
- Suculentas e cactos (necessitam de cuidados mínimos)
- Lavanda e calêndulas (adicionam cor e fragrância)
Plantas Escalantes e Rasteiras
- Hera e gloriosa-do-manhã (criam um efeito de parede verde)
- Bougainvillea e flor-da-paixão (ideais para treliças externas)
Passo 4: Configurando o Sistema de Irrigação
Regar um jardim vertical de maneira eficiente é fundamental para a sobrevivência das plantas. Aqui estão alguns métodos eficientes de irrigação:
1. Irrigação por Gotejamento
- Um sistema de liberação lenta que entrega água diretamente às raízes das plantas.
- Reduz o desperdício de água.
2. Vasos Autoirrigáveis
- Possuem reservatórios embutidos que mantêm as plantas hidratadas por mais tempo.
- Ideal para pessoas com agendas ocupadas.
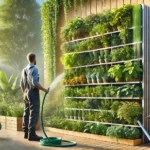
3. Irrigação Manual com Pulverizador ou Mangueira
- Melhor para pequenos jardins verticais.
- Certifique-se de regar uniformemente para evitar plantas secas ou encharcadas.
Passo 5: Usando Solo e Fertilizantes Sustentáveis
Para um crescimento saudável das plantas, use:
- Mistura orgânica de substrato – Leve e retém umidade.
- Composto ou fertilizantes naturais – Melhora a saúde das plantas sem produtos químicos.
- Palha – Ajuda a reter a umidade e a suprimir as ervas daninhas.
Passo 6: Mantendo Seu Jardim Vertical
Uma vez que o seu jardim vertical esteja configurado, siga estas dicas de manutenção para mantê-lo prosperando:
1. Regue Regularmente (Mas Não Exagere!)
- Verifique a umidade do solo antes de regar para evitar o excesso de água.
2. Pode e Colha Frequentemente
- Pode as folhas mortas e colha ervas/vegetais regularmente.
3. Fique de Olho nas Pragas
- Use controle natural de pragas (como óleo de neem) para evitar infestações.
4. Faça a Rotação das Plantas Ocasionalmente
- Se for interno, mova as plantas para diferentes áreas para equilibrar a exposição à luz.
Considerações Finais
Criar um jardim vertical em um espaço pequeno é uma maneira gratificante de trazer a natureza para ambientes urbanos. Ao escolher o local, as plantas e a estrutura certos, você pode desfrutar de uma vegetação fresca durante todo o ano — mesmo nos ambientes mais compactos.
Você consideraria começar o seu próprio jardim vertical em um espaço pequeno? Deixe-nos saber nos comentários!